
Wedding seal
As part of sending out our wedding invites, I wanted to do something a little special. Somewhere along the line we got the idea of making up our own seal for the envelopes. I fancied the idea of using my CNC machine to make up a stamp, and it didn't seem like it would be too hard to do.
First step was to make up a drawing. This was more work than I imagined, as there were a number of requirements:
- Must contain no details smaller than the size of the end mill. That means fancy fonts with thin ascenders are a no-no. Thick block sans-serif only please.
- Can't be too big. The bigger it is the more wax that will be used and the harder it will be to machine.
- Must look good!
In the end I came up with a design that incorporated a bit of both of us:

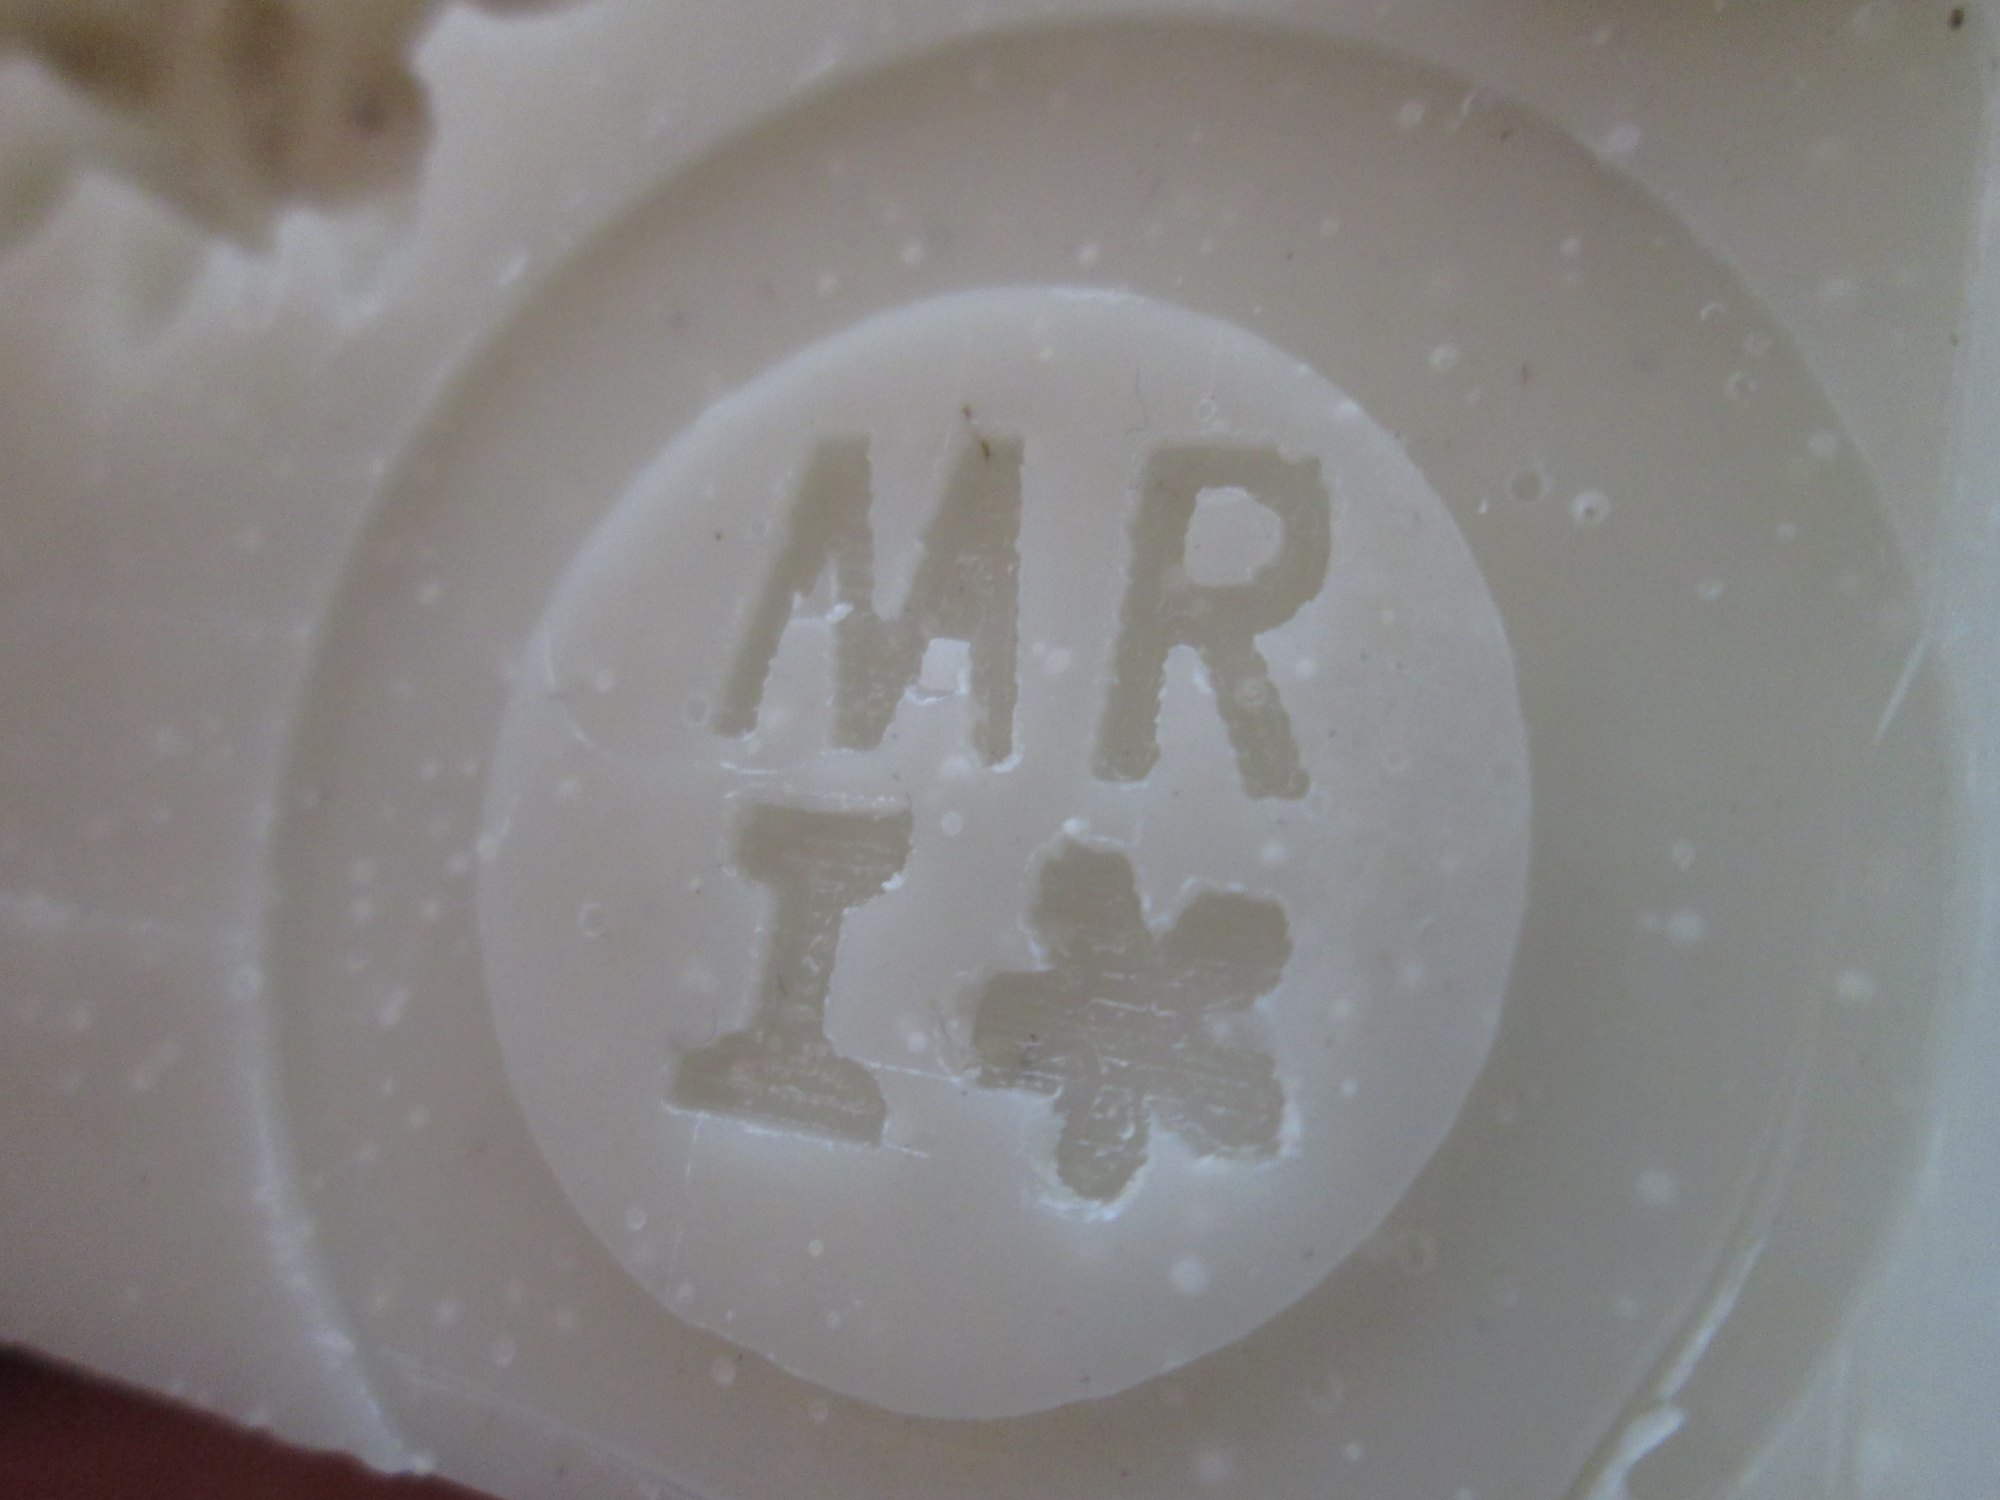
M and R are our initials obviously. Below my initial we have a lump of railway track... again distorted and "chunked up" due to the above requirements. Then below Rachel's initial we have a daisy, the international flower of Rachel.
Next it was time to generate a CNC program, i.e. convert the pattern above into a set of instructions for the CNC machine. To do this I first converted the SVG file into a a DXF file in Inkscape, then imported it into MeshCAM. Then I set the parameters, selected the tools I wanted to use, the style of cutting path, set a keepout zone, and hit go:
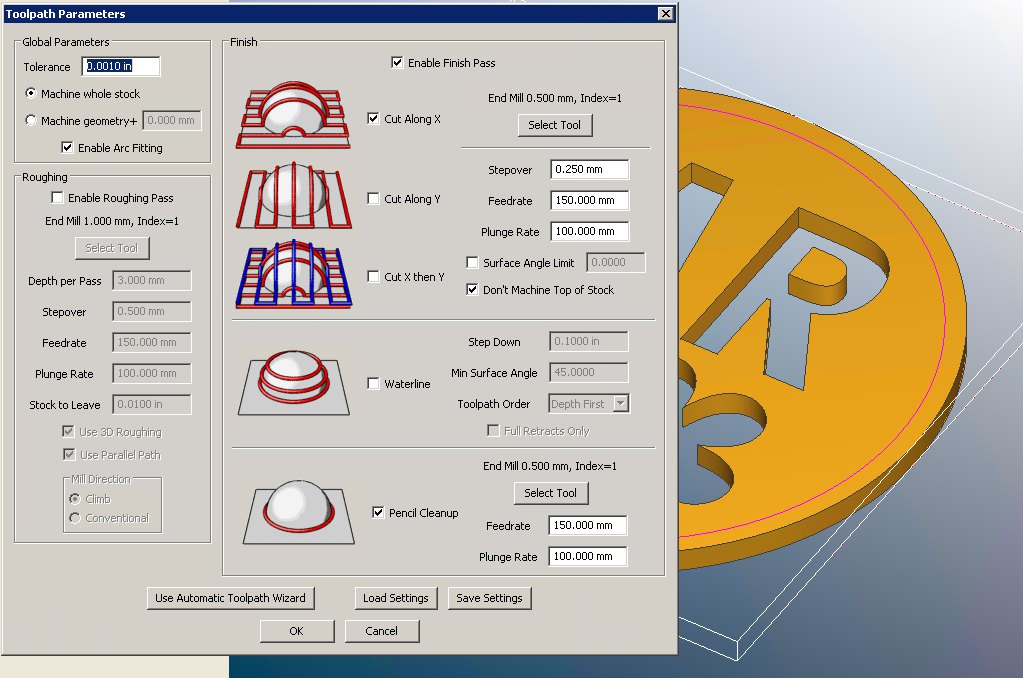
End result:

The blue lines are "rapid" moves and show where the machine enters and exits the piece. Then you can see the back and forward passes it makes to selectively remove material.
Then it was off to the garage where I fired up the CNC PC. I loaded a chunk of machinable wax (80% candle wax, 20% plastic supermarket bags, melted together) and turned on the machine.
First order of business was to clean off the top of the wax to give a nice flat surface. I did this with a 6mm end mill, which made short work of the wax. With a nice flat surface to work on I loaded in the 0.5mm end mill and carefully zeroed the machine. Then I hit run!
It's quite fun watching it zip and zoom all over the place. Once it was done I gave it a good clean out, first with compressed air, then a fine brush, then a toothpick for the really stubborn bits. End result:
Next I mixed up some casting resin and poured it on, then zapped it into my pressure pot. 30 minutes later I removed it and stuck it onto a lump of wood.
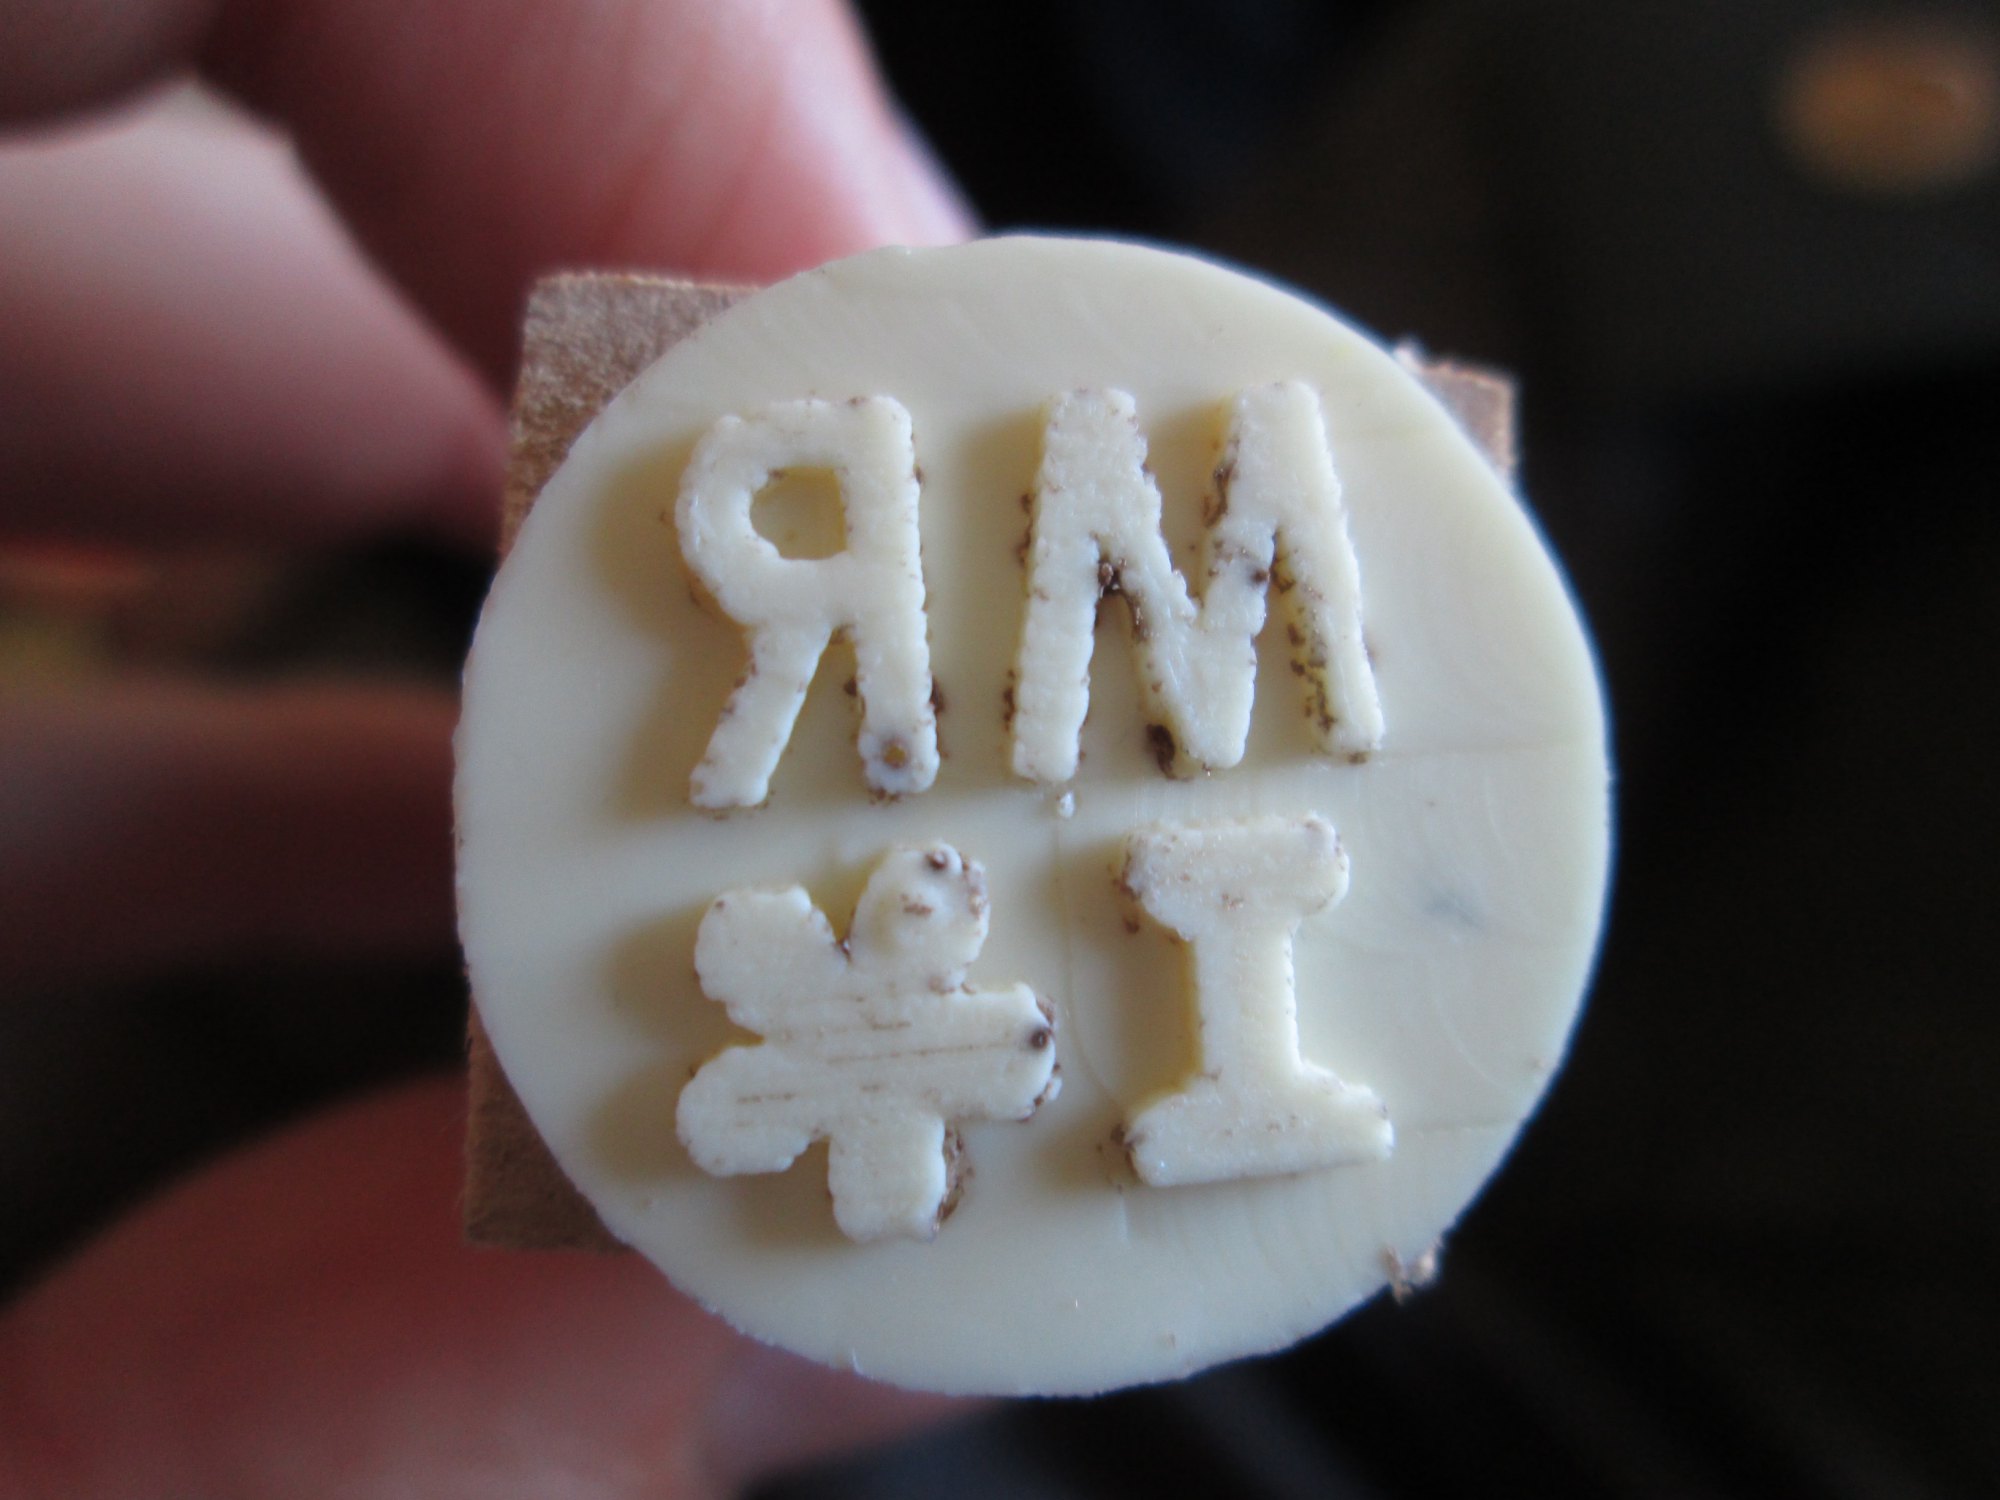
Bingo, one stamp!
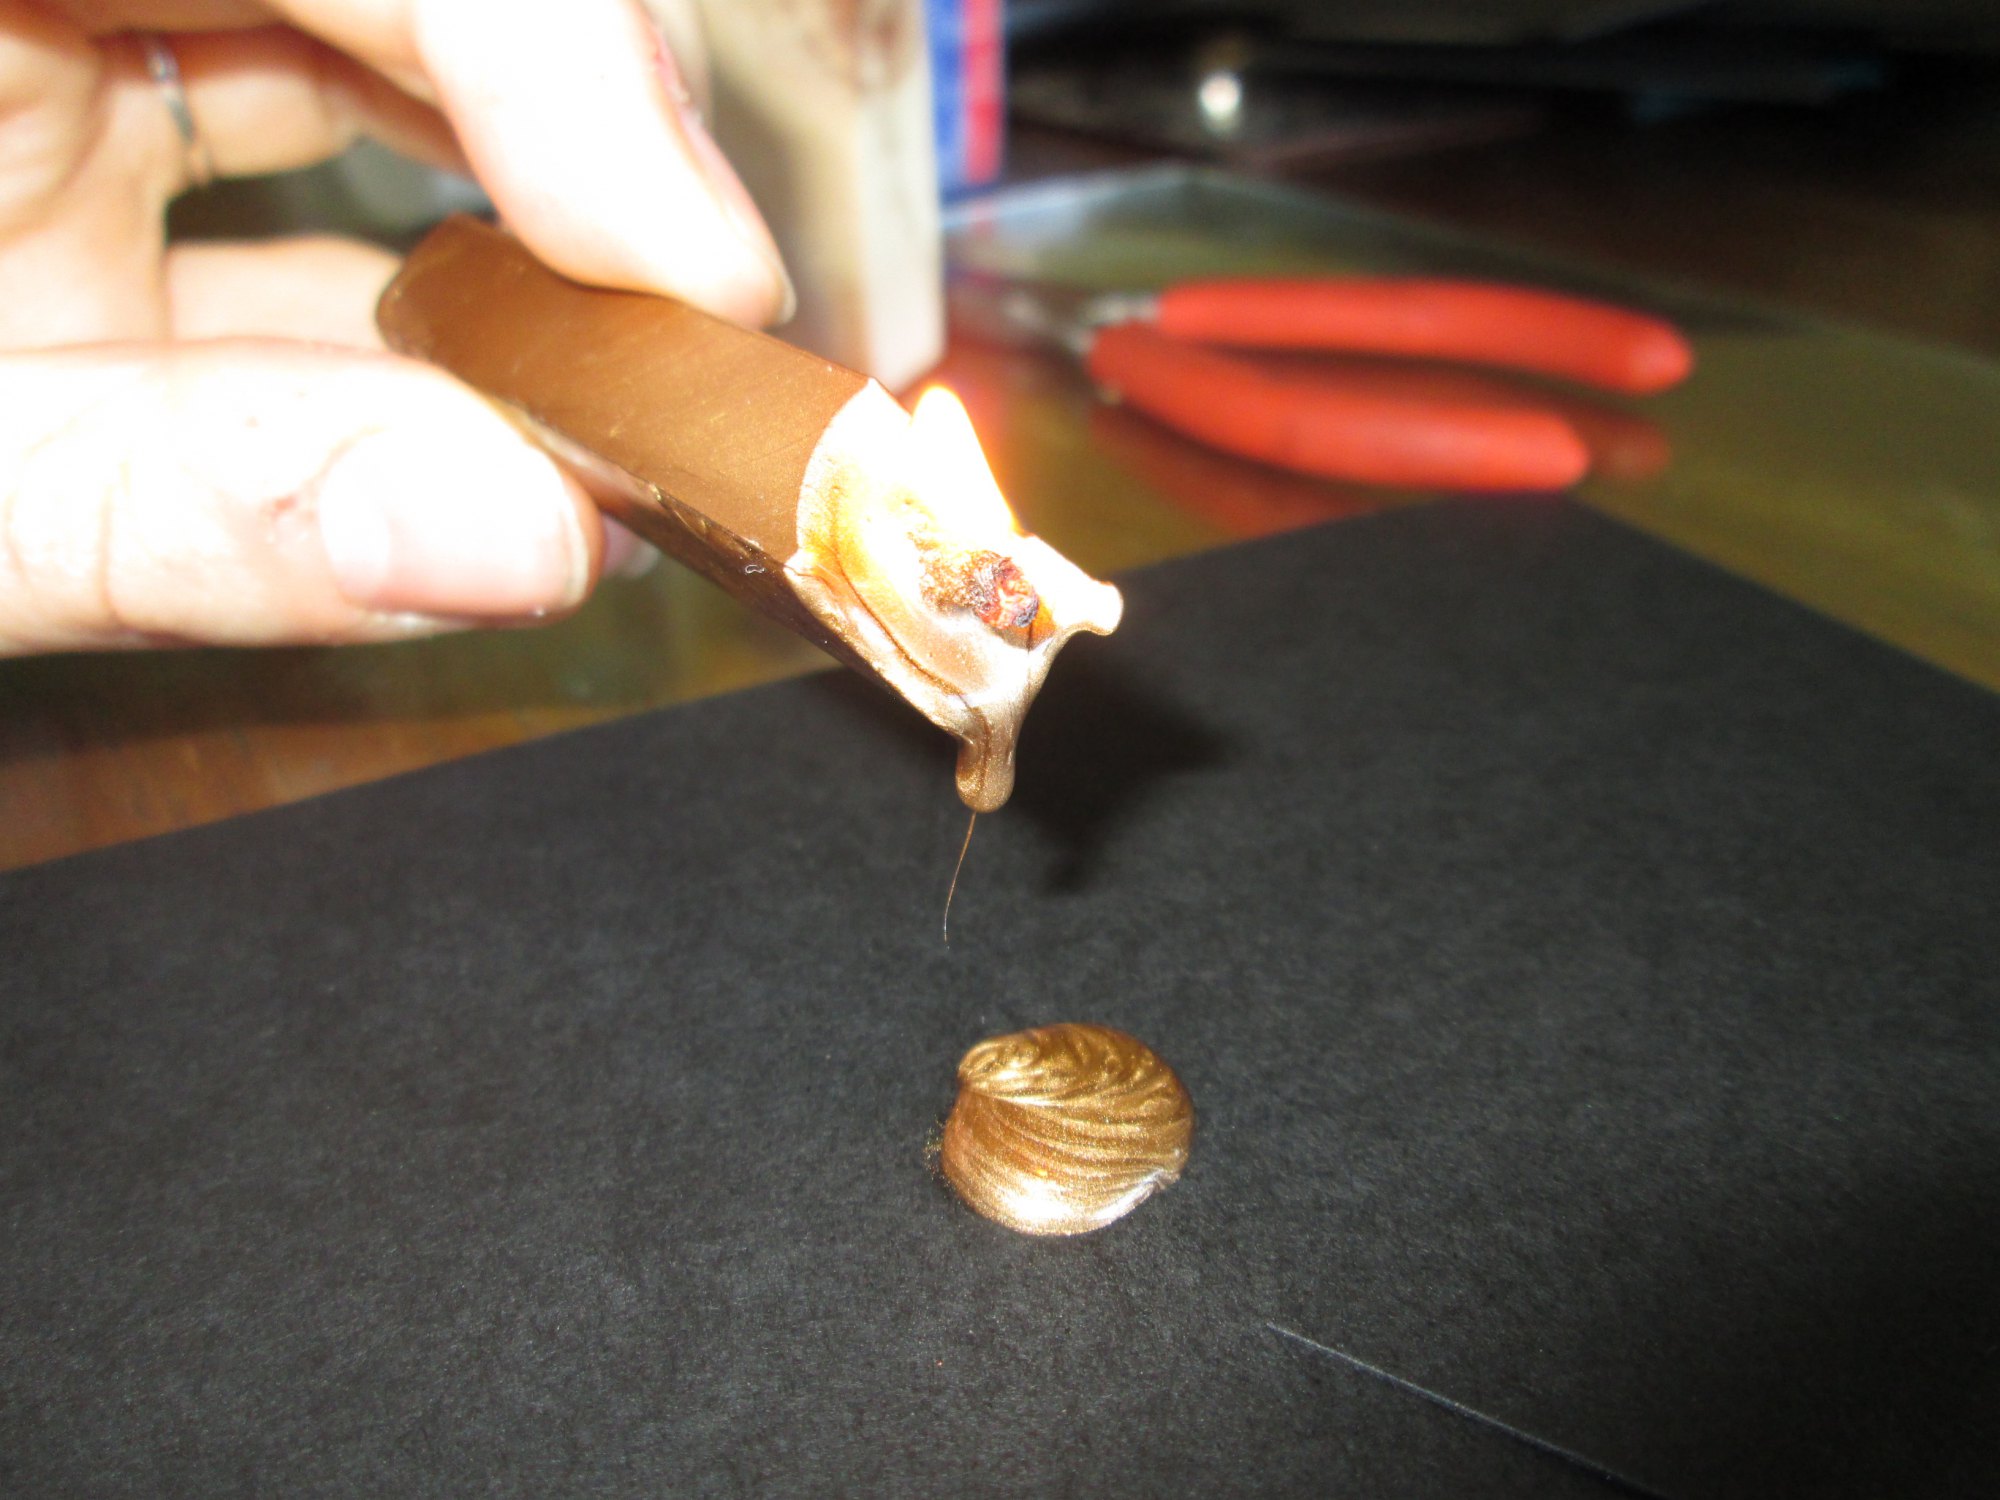
To actually seal the envelopes, Rachel and I set up a small production line. She would drip the sealing wax onto the envelopes, and I would quickly stamp the negative into the wax. I actually made up two seals so I could alternate between them, as we discovered that with only one seal, there just wasn't enough time for the wax to set before the next envelope was ready!
And the final result:

Leave a comment?